
티스토리 뷰
해당 글은 https://blog.naver.com/kbs4674/221173415422 로 부터 게시글이 이전되었습니다.
투표를 진행하려면 찬성, 반대 이 2가지에 대한 선택권이 있어야 합니다.
이번 글에서는 이런 투표 시스템을 간단히 구축할 수 있는 Gem을 만들어 보겠습니다.
참고
본 실습에 있어선 Post Scaffold를 기반으로 설명이 진행됩니다.
- 투표 Gem, Gem : acts_as_votable
1. Gemfile에서 다음 Gem을 입력합니다.
gem 'acts_as_votable'Gem을 설치합니다.
bundle install
2. 터미널에 다음 명령어 입력합니다.
rails generate acts_as_votable:migration그럼 새로운 테이블이 생성된게 확인될겁니다.
3. 새로 생긴 테이블 파일을 Migrate 전, db/migrate/acts_as_votable_migration.rb 를 열람 후,
class ActsAsVotableMigration < ActiveRecord::Migration[4.2]맨 위에 Rails 버전을 보면 4.2 라고 되어있는데
자신의 Rails 버전에 맞게 수정해주세요.
class ActsAsVotableMigration < ActiveRecord::Migration[5.2]저는 5.2 버전이므로, 위와같이 수정했습니다.
수정 후, DB Migrate 작업을 진행합니다.
rake db:migrate
4. 투표 기능을 넣고자 하는 모델 파일에 가서 다음 내용 입력.
class Post < ApplicationRecord
    acts_as_votable
    ...
end
5. 투표자가 될 User 모델에 가서 다음 내용을 입력합니다.
class User < ApplicationRecord
    acts_as_voter
    ...
end
6. Controller로 이동 후, 다음 액션들을 추가해주세요.
# 투표 관련 Controller 내용 : 찬성
def upvote
    @post = Post.find(params[:id])

    #만약 '찬성' 투표를 이미 한 경우 : '찬성' 투표 취소
    if ((current_user.voted_up_on? @post) == true)
        @post.unliked_by current_user
        redirect_to(request.referrer, :notice => '해당 글의 추천을 취소하셨습니다.')
    else
        @post.upvote_by current_user
        redirect_to(request.referrer, :notice => '해당 글을 추천하셨습니다.')
    end
end

# 투표 관련 Controller 내용 : 반대
def downvote
    @post = Post.find(params[:id])

    #만약 '반대' 투표를 이미 한 경우 : '반대' 투표 취소
    if ((current_user.voted_down_on? @post) == true)
        @post.unliked_by current_user
        redirect_to(request.referrer, :notice => '해당 글의 반대를 취소하셨습니다.')
    else
        @post.downvote_from current_user
        redirect_to(request.referrer, :notice => '해당 글을 반대하셨습니다.')
    end
end
7. config/routes.rb 파일로 이동 후, 다음 내용을 추가해줍니다.
resources :posts do
  member do
    put "like", to:    "posts#upvote"
    put "dislike", to: "posts#downvote"
  end
end
8. Rails 서버가 켜져있다면 서버를 껏다 켜줍니다.
9. app/views/posts/show.html.erb 파일을 열고, 적절한 위치에 다음 내용을 추가해줍니다. (찬성/반대 버튼)
* 해당 내용은 제가 임의로 디자인 한 것으로, 추가적인 디자인은 여러분 몫입니다!
<div>
  <%= link_to "찬성 #{@post.get_upvotes.size}", like_post_path(@post), method: :put, style: "margin-top: 10px; padding: 10px; border: 1px solid black; border-radius: 10px;" %>
  <%= link_to "반대 #{@post.get_downvotes.size}", dislike_post_path(@post), method: :put, style: "margin-top: 10px; padding: 10px; border: 1px solid black; border-radius: 10px;" %>
</div>
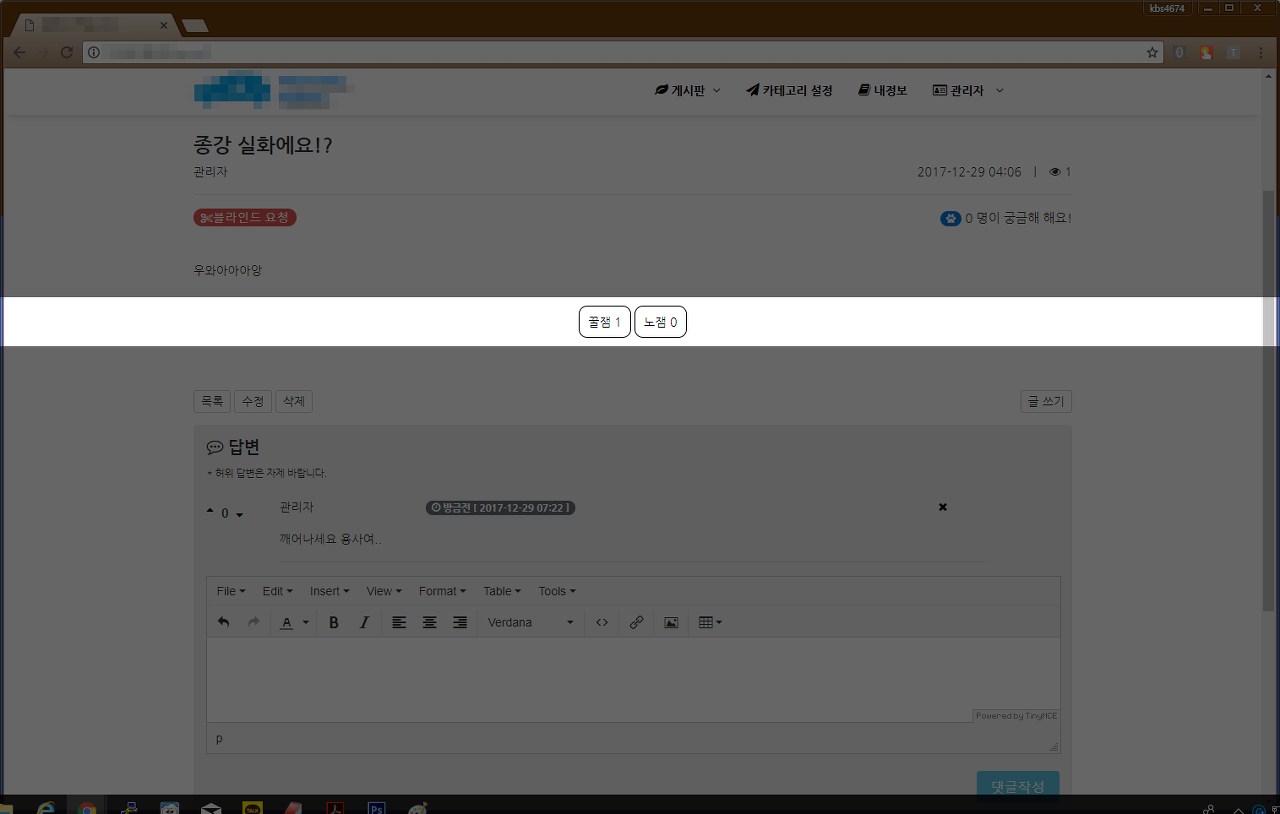
10. 완성입니다!
- 높은 투표율 순으로 정렬하기
votable Gem에 counter Cache 기능을 이용해서 투표률에 따른 정리(Order)를 해보겠습니다.
1. 다음 명령어를 입력해줍니다.
# rails g migration AddCachedVotesTo[모델명]
rails g migration AddCachedVotesToPost
2. 새로 생긴 Migration 테이블 파일에 다음 내용을 넣어줍니다.
class AddCachedVotesToPost < ActiveRecord::Migration[5.2]
  def self.up
    add_column :posts, :cached_votes_total, :integer, :default => 0
    add_column :posts, :cached_votes_score, :integer, :default => 0
    add_column :posts, :cached_votes_up, :integer, :default => 0
    add_column :posts, :cached_votes_down, :integer, :default => 0
    add_column :posts, :cached_weighted_score, :integer, :default => 0
    add_column :posts, :cached_weighted_total, :integer, :default => 0
    add_column :posts, :cached_weighted_average, :float, :default => 0.0
    add_index  :posts, :cached_votes_total
    add_index  :posts, :cached_votes_score
    add_index  :posts, :cached_votes_up
    add_index  :posts, :cached_votes_down
    add_index  :posts, :cached_weighted_score
    add_index  :posts, :cached_weighted_total
    add_index  :posts, :cached_weighted_average

    # Uncomment this line to force caching of existing votes
    # Post.find_each(&:update_cached_votes)
  end

  def self.down
    remove_column :posts, :cached_votes_total
    remove_column :posts, :cached_votes_score
    remove_column :posts, :cached_votes_up
    remove_column :posts, :cached_votes_down
    remove_column :posts, :cached_weighted_score
    remove_column :posts, :cached_weighted_total
    remove_column :posts, :cached_weighted_average
  end
end
참고 해당 migrate 파일은 posts 테이블 기준으로 작성되었습니다.
혹시 다른 테이블 이름을 쓰시는 분은 파일 내에서 posts 라는 명칭만 바꿔주세요.
내용 수정이 끝났으면 Migrate를 해줍니다.
rake db:migrate
3. 정렬을 하고자 하는 Controller로 이동 후, 다음 내용을 추가해줍니다.
class PostsController < ApplicationController
    ...

    def index
        # 댓글 호감도에 따라 상위권 up
        @posts = Post.order(:cached_votes_up => :desc)
        ...
    end

    ...

end
이렇게 하면 적용이 잘 될겁니다!
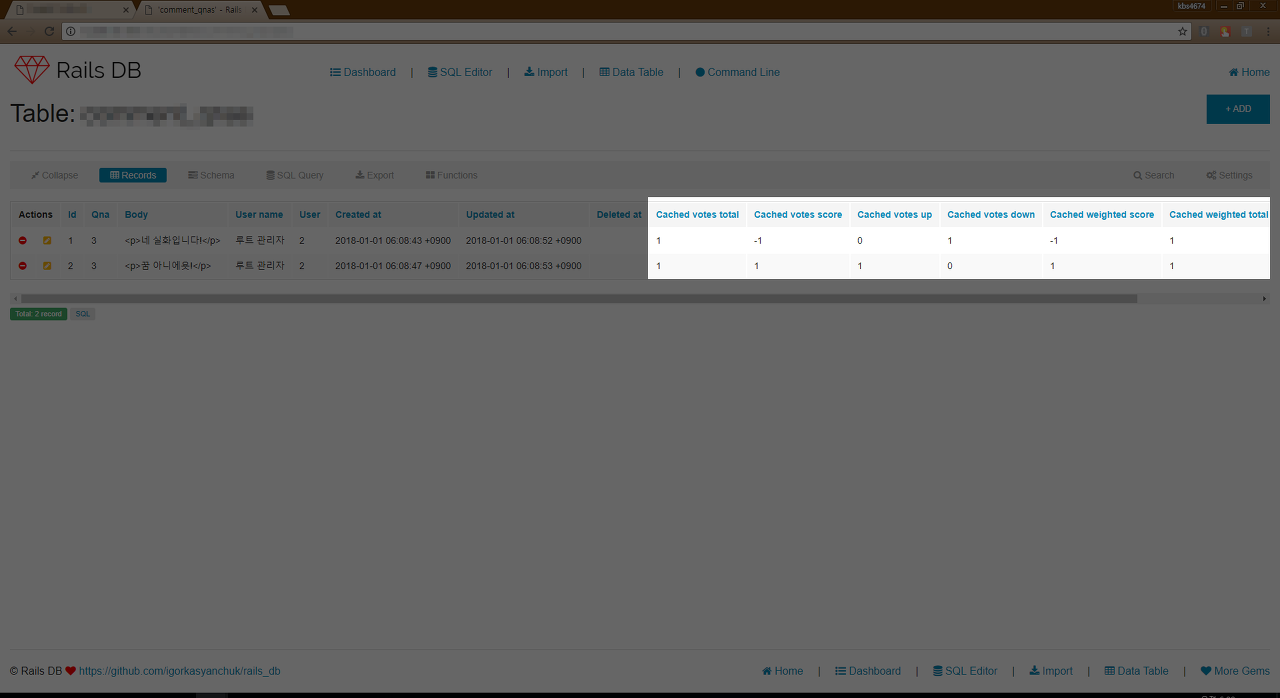
DB 테이블을 보면 새로운 컬럼 테이블 추가 및, 따로 좋아요/싫어요 등을 기록하고 있는 것도 확인이 됩니다.
- 자료 참고
1. acts_as_votable 잼에 대한 자세한 설명 [클릭]
2. Acts_as_votable Github [클릭]
3. 투표율 높은 순 정렬 [클릭]
'프로그래밍 공부 > Ruby on Rails : Gem' 카테고리의 다른 글
| Ruby on Rails : 중첩댓글 [Gem : act-as-commentable-with-threading] with Ajax 비동기 처리 (6) | 2019.11.05 |
|---|---|
| Ruby on Rails : 띵동! 알람잼 [Gem : unread] (0) | 2019.11.05 |
| Ruby on Rails : 어드민 관리자 페이지 [Gem : rails_admin] (0) | 2019.11.05 |
| Ruby on Rails : Rolify + Cancancan 권한 지정/권한 관리 [Gem : rolify, cancancan] (0) | 2019.11.05 |
| Ruby on Rails : 페이지(paginate) 2 [Gem : Pagy] (2) | 2019.11.05 |